Monetize Your Discord Server with Stripe

Discover how to leverage your Stripe account to effortlessly monetize your Discord server and build a thriving community.
Introduction:
Have you ever wondered how to use your Stripe account to monetize your Discord server? In this tutorial, we'll guide you through a simple process using the Monetize Your Guild platform, which streamlines the integration of Stripe with Discord for efficient monetization.
Discord Roles as a Key Element:
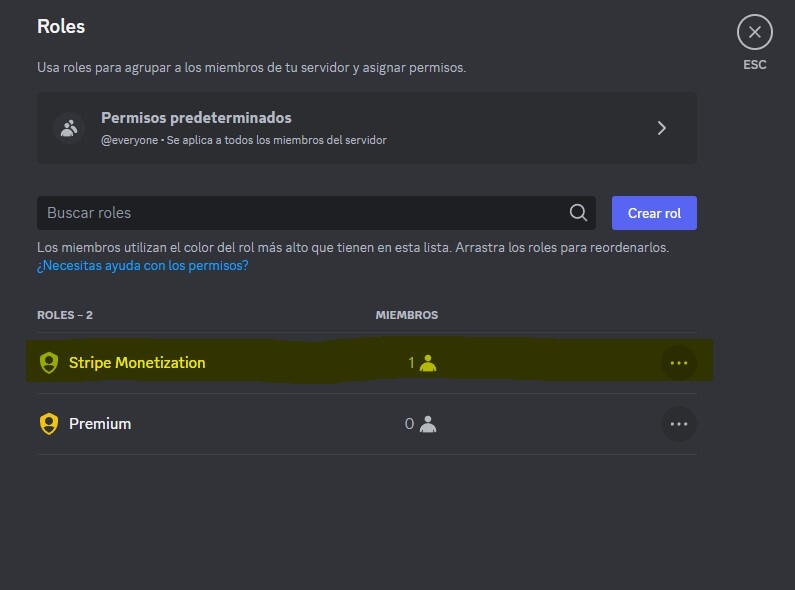
In Monetize Your Guild, roles play a crucial role in Discord server monetization. Through these roles, you can grant users permissions to access specific resources and channels. If you want to learn more about Discord roles, check here.
Basic Requirements:
Stripe Account: If you don't have a Stripe account yet, visit stripe.com for more information.
Discord Server: You'll need access and administrator permissions on the Discord server you want to monetize.
Monetize Your Guild Account: We'll use Monetize Your Guild to manage the integration between Stripe and Discord.
Initial Setup:
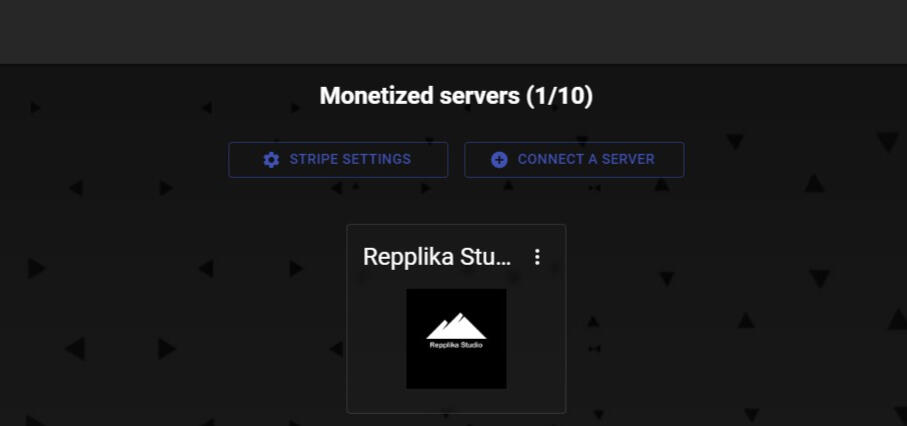
Once everything is in order, the first step is to log into your account at seller.monetizeyourguild.pro. Here's what you'll find initially:
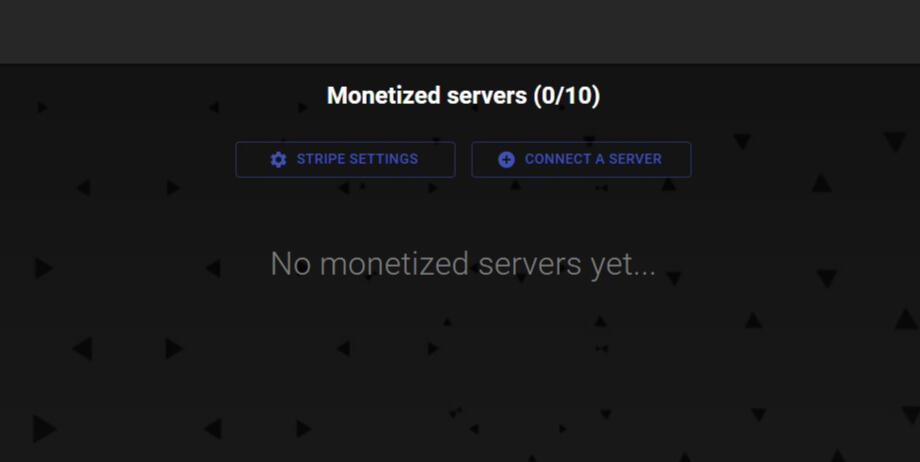
To create our monetization system, we need to connect our Stripe account in the "STRIPE SETTINGS" tab.
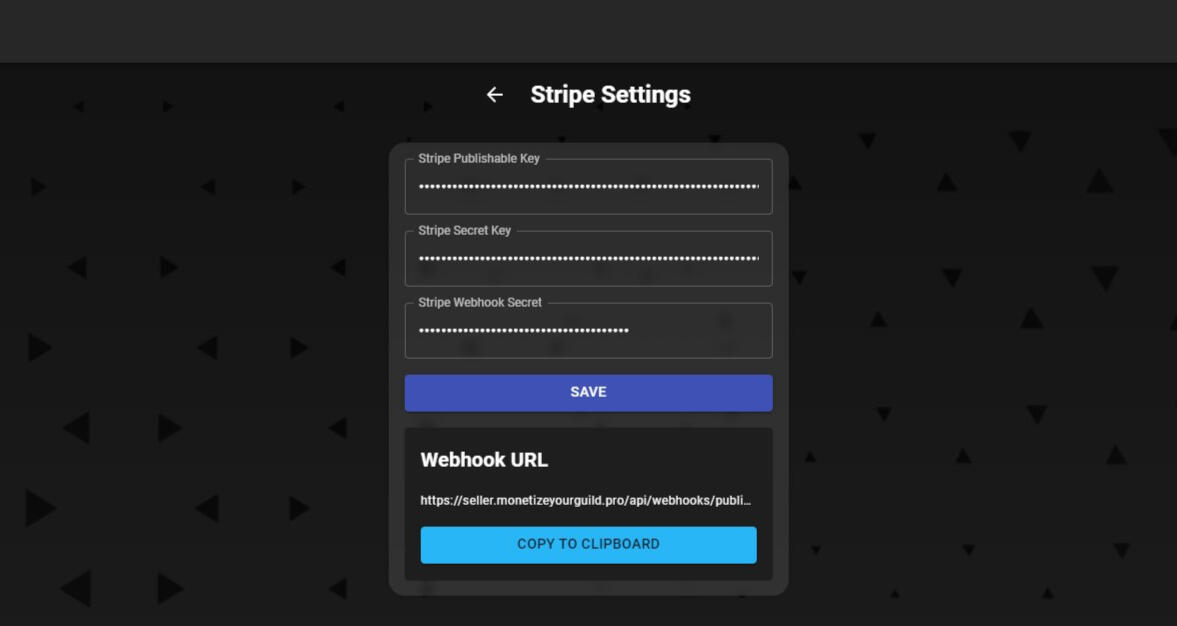
As seen in the image, we'll need two main keys:
1. Publishable Key:
This key can be easily found by accessing the API Keys tab in the Developers section of your Stripe Dashboard.
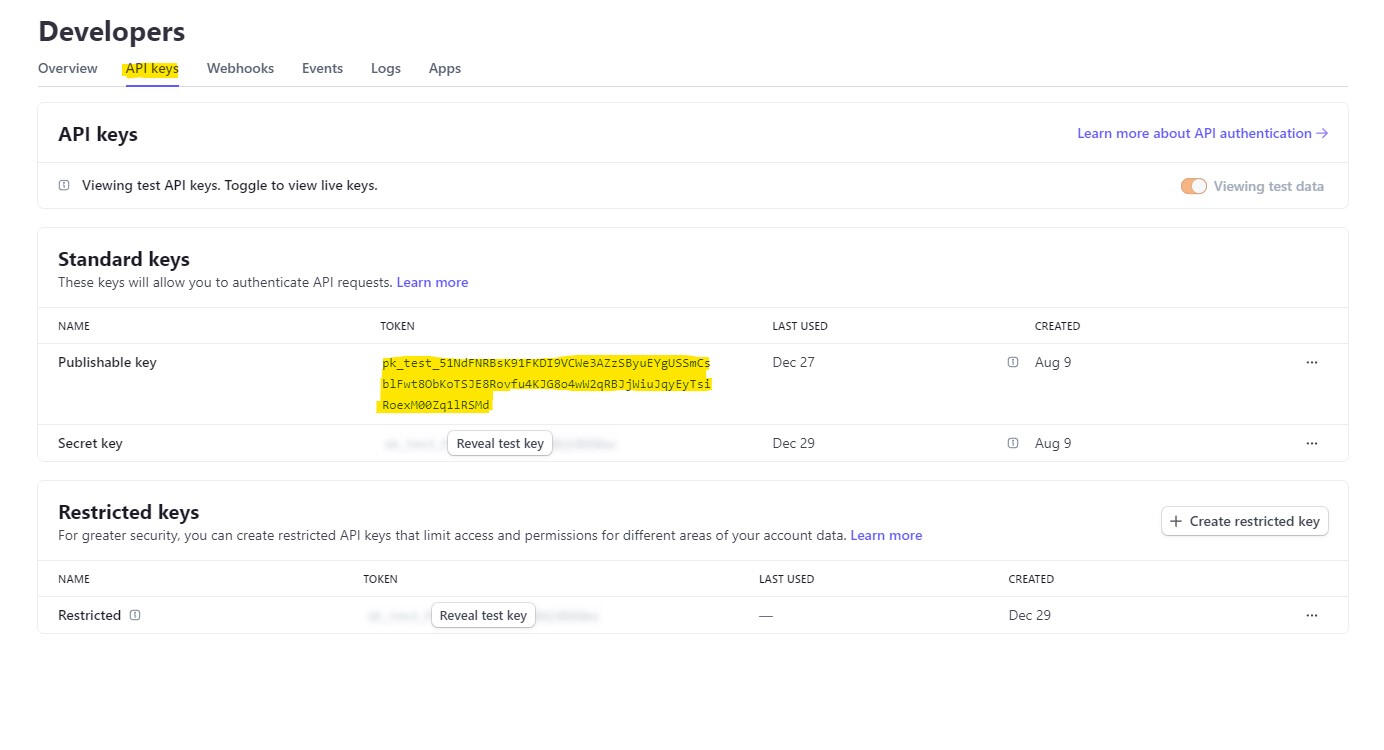
2. Secret Key:
To obtain this key, you have two options. The first is to use the secret key directly from the API Keys tab in the Developers section of your Stripe Dashboard.

For added security, you can create a restricted key with the following permissions:
Customers - Write
Products - Read
Checkout Sessions - Write
Customer portal - Write
Prices - Read
Subscriptions - Read
Webhook Endpoints - Write
That's it! We've configured the necessary Stripe data in our integration platform; now, let's add our first server!
Adding Our First Server:
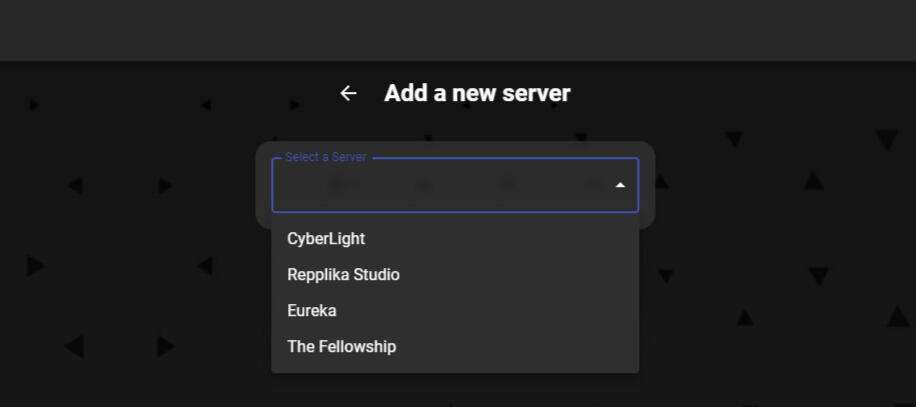
On the monetizeyourguild.pro platform, go to the "Connect a Server" section to add your first server. Once there, select your desired Discord server from the dropdown menu:
After selecting a server, you'll be prompted to add a BOT to your server. This BOT will be responsible for adding users or assigning/removing roles based on their subscription status. After adding the BOT, you can proceed.
Note: Ensure that the BOT's role is above the roles you want to monetize:
If you've followed the instructions correctly, you've added your first server. Now, it's time to add the different tiers (subscriptions) you need. In our case, we've added a server called Repplika Studio.
Access your newly added server and add a new tier:
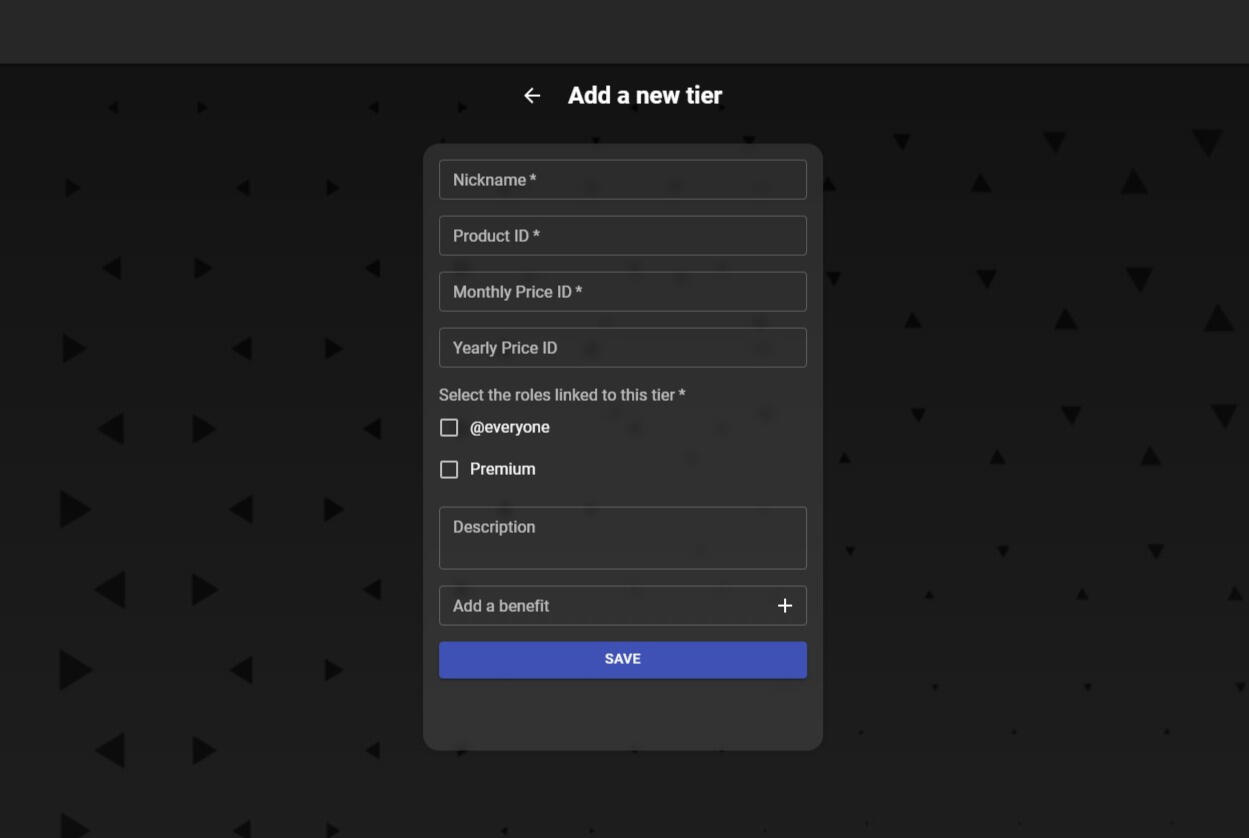
The process here is straightforward; fill out the necessary information in the form with the details from your Stripe product information. All the required data can be found in the product information section in Stripe.

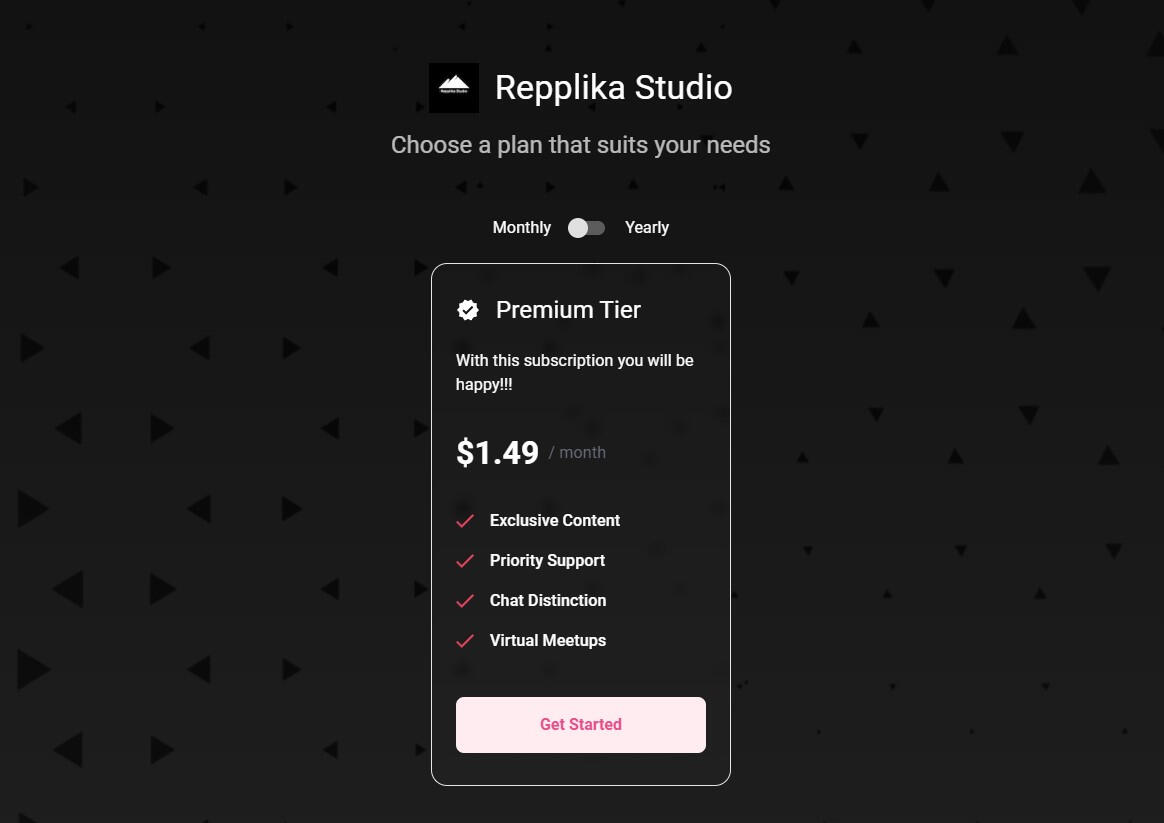
Great, we've added our first tier! Now, all that's left is to share the link to our page where users can subscribe to our server and enjoy its benefits.
Additional Notes:
Ensure the Discord bot role is above the roles added to the tiers.
Remember to add the Discord bot to your server before adding tiers.
Configure permissions and benefits for roles directly in Discord; our platform is used to link roles and Discord products.